Baby Handprint & Footprint Keepsakes: The Complete Guide
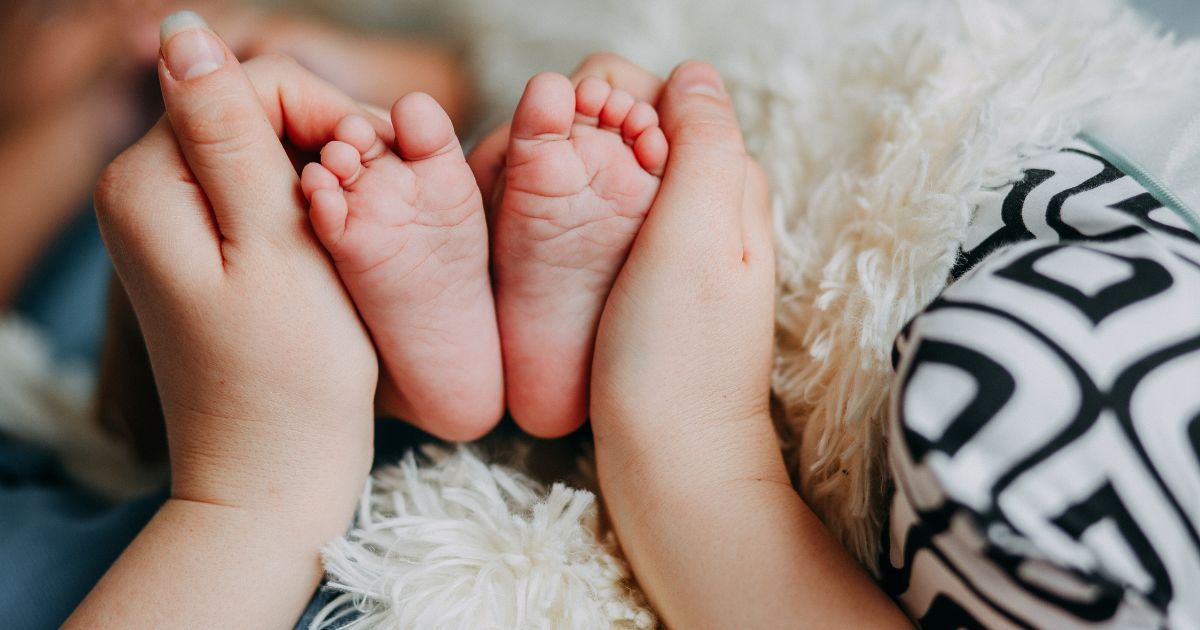
Your baby's hands will never be this small again. One day those tiny fingers are curling around yours, and seemingly the next they're tying their own shoes. A baby handprint keepsake is the simplest way to freeze that moment in time. It's a literal imprint of who your little one was on a specific day, at a specific size, in a specific season of your life together.
This guide walks you through everything you need to make a handprint or footprint keepsake you'll actually be proud to display: the safest methods for newborn skin, the best age to capture a clean print, a foolproof salt dough recipe, creative project ideas, and how to preserve your keepsake so it lasts for decades instead of crumbling in a drawer. Whether you're a sleep-deprived new parent looking for a 15-minute project or a grandparent planning a heartfelt gift, you'll find a method here that fits.
We've tested every approach in this guide ourselves: the messy ones, the no-fuss ones, and the ones that look beautiful but are secretly a nightmare with a wriggling six-week-old. Here's what actually works.
What Is a Baby Handprint Keepsake?
A baby handprint keepsake is a preserved impression or print of a baby's hand (or foot) created and kept as a lasting memento of their size and age at a particular moment. The three most common forms are ink or paint prints transferred onto paper or canvas, 3D impressions pressed into salt dough, air-dry clay, or plaster, and inkless prints made with a chemically treated wipe that develops only on special paper. Most keepsakes are made within the first year of life, when a baby's hands and feet are smallest and change fastest. A finished keepsake typically includes the print, the child's name, and the date, and is then framed, displayed as an ornament, or stored in a memory box. Done with non-toxic, baby-safe materials, the process is gentle, inexpensive, and takes under 30 minutes for most methods.
Why Capture Your Baby's Handprints and Footprints
Photos capture how your baby looked. A handprint captures how small they were, and there's something about holding a print the exact size of your newborn's palm that a photo can never quite replicate.
Beyond the sentiment, handprint and footprint keepsakes are genuinely practical:
- They're a low-pressure first craft. You don't need artistic skill. The baby does the work.
- They double as gifts. Grandparents, in particular, treasure them more than almost anything store-bought.
- They create a record over time. Many families take one print per year and watch the growth side by side.
- They cost almost nothing. A salt dough keepsake uses pantry ingredients you already own.
If you're weighing whether to capture a hand or a foot (or both), our breakdown of handprint vs footprint keepsakes walks through which works best at each age. Newborn feet are often easier than newborn hands, for reasons we'll explain in a moment.
The Best Age to Take Baby Handprints and Footprints
This is the single most common question we get, and the answer surprises a lot of parents.
The easiest age to take a baby handprint is actually after about 4 to 6 months, not at birth. Newborns have a strong palmar grasp reflex, an involuntary curling of the fingers when the palm is touched, that is present from birth and typically fades between 4 and 6 months of age. Because of this reflex, getting a newborn to relax their hand into a flat, open print can be genuinely difficult, which is why many parents find footprints far easier than handprints in the first weeks. That said, the appeal of a newborn keepsake is precisely how tiny it is. If you want a print from the hospital days, plan around feeding and sleep: a drowsy, full, content baby relaxes their fingers far more readily than an alert one. For hands specifically, gently stroking the back of the hand or the wrist often encourages the fingers to open more than pressing on the palm, which only triggers the grasp again.
For a deeper look at timing and technique for the very early days, see our guide on capturing a newborn footprint.
5 Ways to Make a Baby Handprint Keepsake
There's no single "right" method. Each one has trade-offs in mess, durability, and how the finished piece looks. Here are the five approaches worth knowing.
1. Ink & Paint Prints
The classic 2D method: you transfer a print onto paper, cardstock, or canvas using baby-safe ink or non-toxic, washable paint. Ink pads designed for babies give crisp lines and clean up fast. Paint gives you color flexibility (great for handprint canvas art) but is messier and harder to control on a squirmy baby.
2. No-Mess Inkless Prints
Inkless print kits use a wipe coated with a clear chemical that reacts only with specially treated paper. You wipe baby's hand, press it to the paper, and a clean print develops, with zero visible ink on their skin. For nervous first-timers, this is the lowest-stress option there is.
3. Salt Dough Keepsakes
Salt dough is the budget champion. Three pantry ingredients turn into a 3D impression you can paint, personalize, and hang. It's the keepsake most parents picture when they think of a homemade handprint ornament.
A simple, tried-and-tested salt dough recipe:
- Mix 1 cup all-purpose flour, 1 cup fine salt, and about ½ cup water until a smooth, non-sticky dough forms. Add water a little at a time.
- Roll the dough to roughly ¼-inch (about 1 cm) thick on parchment.
- Press your baby's hand or foot in firmly enough to leave a clear, deep impression, then lift straight up.
- Trim into a circle or shape, and use a straw to poke a hole if you want to hang it.
- Air-dry for 24–48 hours, or bake at a very low temperature (around 200°F / 90°C) for a few hours until fully hardened. Low and slow prevents cracking and browning.
- Once cool, paint, add the name and date, and seal with a clear varnish or a few thin coats of waterproof sealant so it lasts.
That sealing step is non-negotiable for longevity, because unsealed salt dough absorbs moisture and can crumble over the years. Our complete step-by-step salt dough handprint tutorial covers troubleshooting, drying times, and decoration in detail.
4. Air-Dry Clay & Casting Kits
Air-dry clay (or a ready-made handprint kit) skips the oven entirely and tends to hold finer detail than salt dough. You roll, press, trim, and let it cure at room temperature, usually around 48 hours per side. Commercial kits bundle the clay, a frame, and instructions, which removes the guesswork.
5. 3D Plaster Casting
For the most lifelike, museum-quality result, 3D casting uses a baby-safe alginate mold to capture a full three-dimensional cast of the hand or foot, with every wrinkle and fingernail included. It's the most involved method and the most expensive, but the result is genuinely heirloom-grade and far more durable than dough.
How to Choose the Right Method for You
The right baby handprint method depends on three things: how much mess you can tolerate, how durable you need the result, and your budget. Inkless kits are the cleanest and most newborn-friendly but produce only a flat, single-color print. Salt dough is the cheapest and most customizable, using pantry ingredients, but is the least durable long-term. Air-dry clay and casting kits balance detail, ease, and a finished look at a moderate price. 3D plaster casting delivers the most realistic, longest-lasting result but costs the most and demands the most skill. For a first keepsake with a young newborn, most parents are happiest starting with an inkless print or a kit. For a sentimental DIY they can paint and personalize, salt dough or air-dry clay wins. There's no wrong choice. The best keepsake is simply the one you'll actually make.
| Method | Mess | Durability | Cost | Best for |
|---|---|---|---|---|
| Ink & paint | Medium-high | High (framed) | $ | Cards, framed art |
| Inkless | Very low | High (framed) | $$ | Newborns, easy cleanup |
| Salt dough | Medium | Low-medium | $ | Budget, ornaments |
| Air-dry clay / kit | Medium | Medium-high | $$ | Finished look, gifts |
| Plaster casting | High | Very high | $$$ | Heirloom 3D casts |
Still torn between the two most popular DIY routes? Our clay vs ink handprint kits comparison puts them head to head.
Are Baby Handprint Materials Safe?
Safety is the one area where you should never improvise. The good news: keepsake crafting is very low-risk when you use the right materials.
- Use only non-toxic, baby-safe ink, paint, or clay. Look for products explicitly labeled non-toxic and intended for skin contact. In the U.S., art materials carrying the AP (Approved Product) seal from the Art & Creative Materials Institute have been evaluated as non-toxic.
- Homemade salt dough is safe to handle, being just flour, salt, and water, but it is not edible. The high salt content can be harmful if a baby mouths a large amount, so supervise closely and keep finished pieces out of reach until dry and sealed.
- Patch-test first if your baby has sensitive skin, and wash hands and feet thoroughly afterward.
- Never leave a baby unattended with materials, small parts, or hanging cords.
For general guidance on infant development and safe play, the American Academy of Pediatrics' HealthyChildren.org is a reliable, parent-friendly resource, and the U.S. Consumer Product Safety Commission publishes recall information on baby products worth checking before you buy a kit.
Step-by-Step: A Foolproof First Handprint
Here's the exact workflow we recommend for a first-time, no-stress print. It's the one we walk new parents through in our workshops.
- Time it right. Aim for when baby is calm and full, just after a feed and before a nap. A content baby is a cooperative baby.
- Prep everything first. Lay out your paper or dough, your ink or paint, wet wipes, and a towel before you touch the baby. You'll have seconds, not minutes.
- Recruit a helper. One person holds and supports the wrist; the other manages the print.
- Coax the hand open. Stroke the back of the hand and wrist rather than pressing the palm (which triggers the grasp reflex). For feet, a relaxed, slightly dangling foot prints best.
- Press and lift cleanly. Apply gentle, even pressure across the whole hand or foot, then lift straight up. Avoid dragging, which smudges.
- Don't expect perfection on attempt one. Have spare paper or a second piece of dough ready. Even a slightly imperfect print is the print of your baby, and that's the whole point.
- Label immediately. Add the name and date while you remember it.
Avoiding the classic pitfalls? We rounded up the 7 most common baby handprint mistakes and how to fix them so you can sidestep them entirely.
12 Creative Baby Handprint & Footprint Keepsake Ideas
Once you've got a clean print, the fun begins. Here are twelve ideas to turn a simple impression into something display-worthy.
- Framed first print with name, date, weight, and length: a nursery staple.
- Salt dough or clay ornament for baby's first holiday season.
- Footprint heart, where two footprints angled together form a heart shape.
- Handprint animals: turn a print into a peacock, butterfly, or chick with a few painted details.
- Canvas wall art combining baby's prints with the whole family's.
- Growth series: one print per birthday, displayed in a row.
- Footprint poem print pairing the impression with a short keepsake verse.
- Handprint plate or trinket dish in air-dry clay.
- Family tree art layering multiple generations' handprints.
- Keepsake jewelry: a charm cast from baby's actual print.
- Garden stepping stone for an outdoor memory that lasts years.
- Memory-box card set to mail to grandparents far away.
For dozens more, including holiday and seasonal designs, dive into our baby footprint art ideas and the always-popular baby's first Christmas handprint ornament tutorial. Want to involve the whole family? The multi-generation family tree handprint art is a showstopper.
How to Preserve & Display Your Keepsake
Making the keepsake is only half the job. Keeping it intact is the other half.
- Seal anything porous. Salt dough and air-dry clay should get several thin coats of clear varnish or sealant to block moisture.
- Frame prints behind glass to protect from fading, dust, and curious fingers.
- Store, don't stack. Loose prints belong in an acid-free folder or memory box.
- Keep out of direct sun and damp. UV fades ink and paint; humidity warps dough and clay.
- Photograph it. Take a high-resolution photo of every keepsake as a backup.
Our complete guide to preserving and framing baby handprints covers framing, matting, and long-term storage in depth.
Handprint Keepsakes as Gifts
Few gifts land as hard as a handprint keepsake. They're personal, they can't be bought generically, and they capture a fleeting moment the recipient will never get back.
The sweet spot is grandparents, who consistently rank handprint and footprint keepsakes among their most treasured presents. A framed print, a clay ornament, or a cast for the mantel works beautifully for Mother's Day, Father's Day, Grandparents Day, or simply "just because." We pulled together our favorite handprint keepsake gift ideas for grandparents if you want done-for-you inspiration.
If you'd rather make it yourself but want a polished starting point, our printable handprint keepsake templates give you ready-to-use layouts (names, dates, frames, and poems) that turn a plain print into a gift-worthy piece in minutes.
Common Mistakes to Avoid
- Trying it when baby is fussy or alert. Timing beats technique. Wait for calm.
- Pressing too hard on the palm. It triggers the grasp reflex and ruins the print.
- Rolling dough too thin. Thin dough cracks; aim for about ¼ inch.
- Skipping the sealant. Unsealed dough degrades. Always seal.
- Going solo with a newborn. Get a second pair of hands.
- Forgetting the date. Label immediately, because you will not remember later.
- Expecting a perfect first attempt. Make peace with charming imperfection.
Frequently Asked Questions
What is the best age to take a baby's handprint?
Footprints are easy from birth, but clean handprints are usually easier after 4–6 months, once the palmar grasp reflex fades. For a tiny newborn keepsake, work when baby is sleepy and full, and stroke the back of the hand to encourage open fingers.
Is salt dough safe for babies?
Salt dough (flour, salt, water) is safe to handle with supervision, but it is not edible. The salt content can be harmful if mouthed in quantity, so keep finished pieces out of reach and seal them once dry.
How do I keep a salt dough handprint from cracking or crumbling?
Roll the dough about ¼-inch thick, dry it slowly (air-dry or bake low and slow), and seal the finished piece with several thin coats of clear varnish to block moisture. Sealing is what makes it last.
What's the cleanest way to make a baby handprint?
Inkless print kits are the least messy. A treated wipe develops a clean print on special paper with no visible ink on baby's skin, making them ideal for newborns and first-timers.
Can I make a handprint keepsake at home without a kit?
Yes. Salt dough uses only pantry ingredients, and ink prints need just baby-safe ink and paper. Kits add convenience and a frame, but they're optional. See our best baby handprint kits roundup if you prefer an all-in-one option.
How long does a handprint keepsake take to make?
Most methods take 15–30 minutes of active work. Salt dough, clay, and casting then need drying or curing time (anywhere from a few hours to two days), but your hands-on involvement is brief.
Key Takeaways
- A baby handprint keepsake preserves your child's exact size and age at a single moment, something photos can't fully capture.
- Footprints are easiest from birth; handprints are easier after 4–6 months once the grasp reflex fades.
- The five core methods (ink prints, inkless kits, salt dough, air-dry clay, and plaster casting) trade off mess, durability, cost, and finish.
- Use only non-toxic, baby-safe materials, and never leave baby unattended with supplies.
- Seal porous keepsakes so they last decades instead of crumbling.
Whatever method you choose, the most important thing is simply to make one. These tiny hands and feet won't stay tiny, and one small print today becomes one of the things you'll treasure most for the rest of your life.
Ready to make your first one? Start with our beginner-friendly salt dough handprint tutorial or grab a set of printable keepsake templates to make it gift-ready in minutes.