How to Make a Pacifier Clip (Beginner Tutorial)
Learning how to make a pacifier clip is one of the most satisfying beginner baby crafts there is. In about 15 to 20 minutes, with a handful of inexpensive supplies, you can make a clip that keeps the pacifier off dirty floors, matches any outfit, and even works as a sweet handmade gift. This tutorial walks you through exactly what you need, the all-important safe length, and clear step-by-step assembly.
No special skills are required. If you can thread a bead and tie a secure knot, you can make a pacifier clip. The one rule we will keep coming back to is safety, because this is an item that sits close to your baby's face. Get that right, and the rest is simply fun.
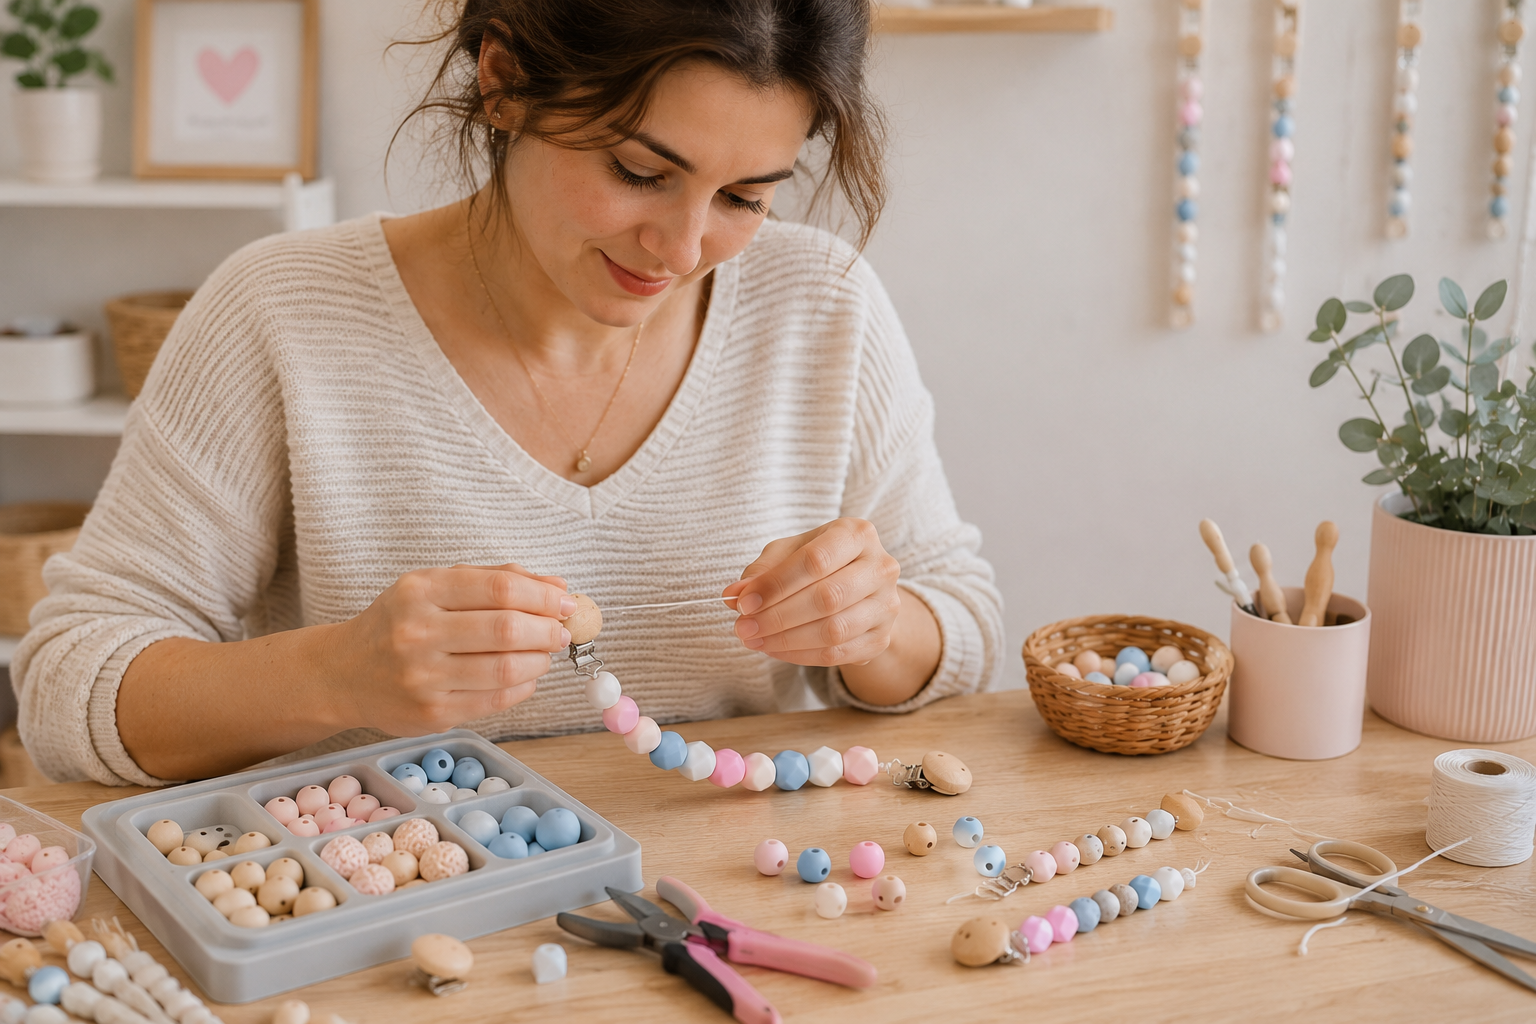
What You'll Need
Supplies
- Food-grade silicone beads (and a wooden bead or ring, if you like)
- A baby-safe pacifier clasp (metal or plastic, with no sharp edges)
- Strong nylon cord or satin ribbon suitable for this use
- Scissors, a measuring tape, and a lighter or fray-stopper for the cord ends
Choose non-toxic materials throughout. Food-grade silicone beads should be BPA-free, lead-free, and phthalate-free, and any wood should be smooth and baby-safe. Look for components and finishes that carry a recognized non-toxic seal, such as the AP seal from the Art & Creative Materials Institute. For more on choosing components, see our guide to safe pacifier clip materials.
The Most Important Rule: Safe Length
Before anything else, understand the length rule. In the United States, the Consumer Product Safety Commission (CPSC) recommends a pacifier clip be no longer than necessary, and preferably no longer than 7 to 8 inches in total length, to reduce any strangulation risk. Always measure the finished clip, fully extended, not the cord you start with. You can read the official guidance on the CPSC's pacifier and teether clips FAQ, and our own deep dive on how long a pacifier clip should be shows you exactly how to measure.
Step-by-Step: How to Make a Pacifier Clip
- Plan your length. Decide your bead pattern and cut your cord so the finished clip will land within the safe 7 to 8 inch range once everything is assembled. When in doubt, start a little shorter.
- Attach the clasp. Thread one end of the cord through the loop on the pacifier clasp, fold it back on itself, and secure it tightly with a firm double knot.
- Add the beads. Slide your silicone (and optional wooden) beads onto the cord in your chosen pattern, keeping them snug with no large gaps.
- Form the pacifier loop. At the free end, make a small loop sized to fit your pacifier's ring, and knot it securely so the pacifier can attach but the loop cannot slip open.
- Secure and seal the ends. Double-knot every join, trim excess cord, and seal the cord ends so they cannot fray. A fray-stopper or a careful touch of heat works well.
- Tug-test everything. Pull firmly on each bead, the clasp, and both loops. Nothing should shift, slide, or come loose.
- Measure one last time. Confirm the finished clip is within the safe range before it goes anywhere near your baby.
That is the whole process. For a printable layout that keeps your sizing consistent every time, grab our free printable pacifier clip patterns.
Safety Checklist Before First Use
- Finished length is within the safe 7 to 8 inch range, measured fully extended.
- Every bead, knot, and the clasp is tight, with nothing loose or cracked.
- Cord ends are sealed and not fraying.
- The clasp opens and closes firmly and has no sharp edges.
- You will attach it to clothing only, never around the neck, and remove it for sleep.
How to Attach and Use Your Clip
Clip the fastener to your baby's clothing near the chest or shoulder, then thread the loop through the pacifier ring and pull it snug. Never attach a clip around your baby's neck, never leave it on during sleep, and remove it during unsupervised time. Inspect the clip before each use and retire it at the first sign of wear. For placement details and common errors, see our guide on how to attach a pacifier clip correctly.
Variations to Try Next
Once you have the basic clip down, it is easy to branch out:
- All-silicone bead clip: soft, easy to clean, and gentle on gums. See our silicone bead pacifier clip tutorial.
- Personalized name clip: spell the baby's name with letter beads for a keepsake gift. Follow our personalized name pacifier clip DIY.
- Mixed wood and silicone: a natural, boho look that pairs beautifully with neutral outfits.
For the full picture of materials, buying tips, and gifting ideas, head back to our complete handmade pacifier clips guide.
Why Make Your Own Instead of Buying?
Store-bought clips are perfectly fine, and our roundup of the best pacifier clips for newborns covers great ready-made options. But making your own has real advantages: you control the exact materials and length, you can match a clip to any outfit or nursery theme, and you can personalize it in ways no shop can. It also costs only a few dollars in supplies, so you can make several for the price of one bought clip, and have spares for the diaper bag, the car, and grandma's house.
Keep It Clean
Pacifier clips collect drool and food, so plan to clean yours often. Silicone parts wash easily with warm water and mild soap, while the metal clasp should be spot-cleaned and kept dry to prevent rust, and wooden beads should be wiped rather than soaked. Always dry every part fully before the next use. For a complete, material-by-material routine, see our guide to cleaning and caring for pacifier clips.
Thinking of Selling Them?
Pacifier clips are a popular first product for handmade sellers because they are quick and inexpensive to make. If you want to sell to the public, though, you must meet US safety rules, including testing and labeling. Our guide on how to make pacifier clips to sell on Etsy covers exactly what is required before you list.
Frequently Asked Questions
How long should a homemade pacifier clip be?
The CPSC recommends a total length of no more than 7 to 8 inches, measured on the finished clip fully extended. When in doubt, make it shorter rather than longer.
What materials do I need to make a pacifier clip?
You need food-grade silicone beads, a baby-safe clasp, strong nylon cord or ribbon, and basic tools like scissors and a measuring tape. Choose non-toxic, securely fastened components.
Is it hard to make a pacifier clip?
Not at all. It is a beginner project that takes about 15 to 20 minutes. If you can thread a bead and tie a secure knot, you can make one. Start with a simple all-silicone design.
Are homemade pacifier clips safe?
Yes, when made and used correctly: keep within the safe length, use non-toxic materials, secure every knot, attach to clothing only, never the neck, and remove during sleep. Always tug-test before use.
Can I put a baby's name on the clip?
Yes. Letter beads let you spell a name for a personalized keepsake or gift. Just keep the finished length within the safe range and make sure every bead is secure.
That is all there is to it. A handmade pacifier clip is quick, inexpensive, and endlessly customizable, and once you have made one you'll want to make a few more. For materials, safety, and gifting in depth, return to our complete pacifier clips guide.